http://cs5tutorial.net/firefish-photoshop-tutorial/
Editors Note: Non-English Pictures
Some images in this post show a non-english version of Photoshop. This should not affect your ability to complete this tutorial as all settings should look exactly the same.
Step 1
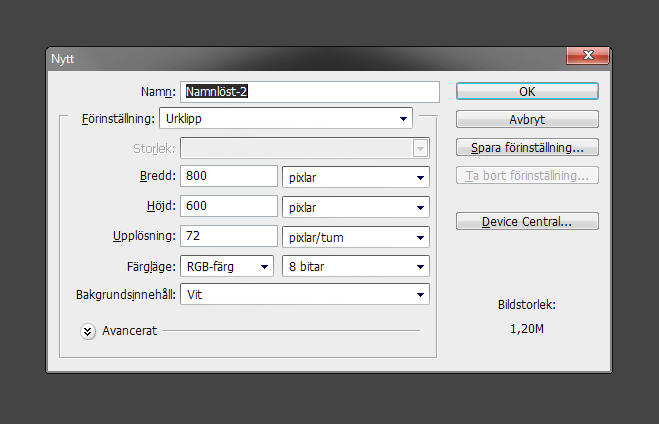
Start with creating a document. Mine is 800×600 pixels. This is a nice workspace when creating icons.
Step 2
Draw a base shape of a fish body using the pen tool. This can be any fish you would like.
Step 3
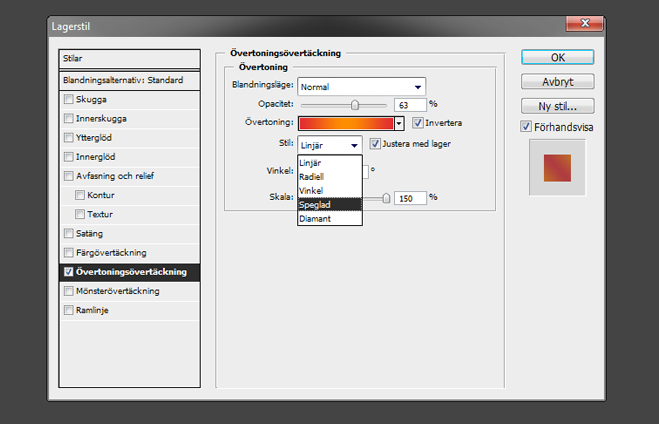
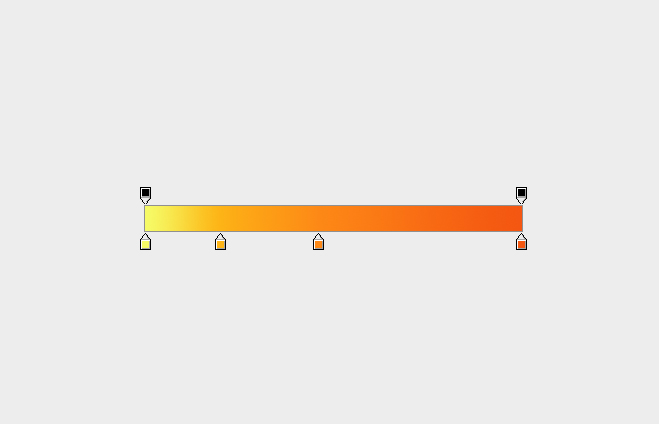
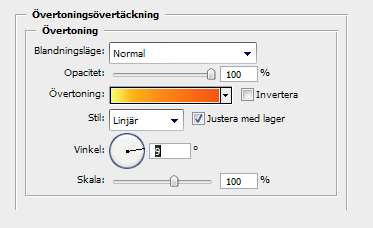
Open the layer styles and apply a gradient with a yellow-orange-red-kind of color to make that fire-feeling and set the gradient-style to mirror. Now set the angle to 45º
Step 4
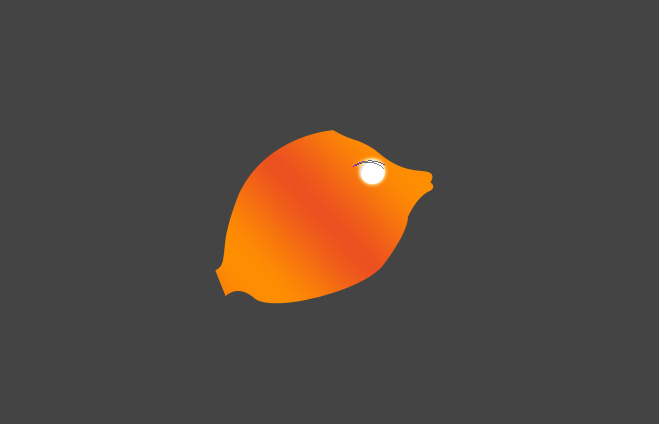
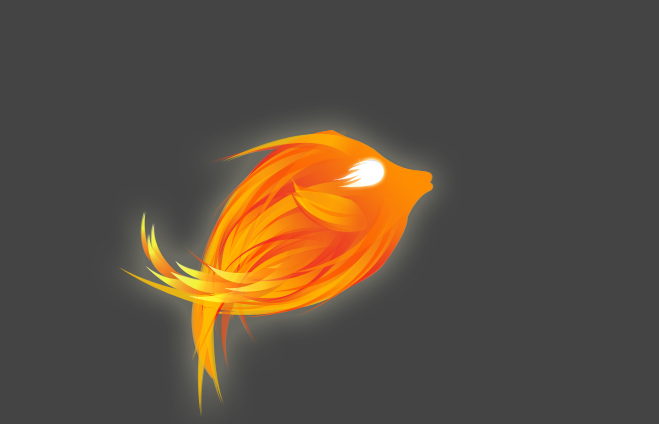
This is how your fish-shape should look like so far(if you did the same fish-shape as I did).
Step 5
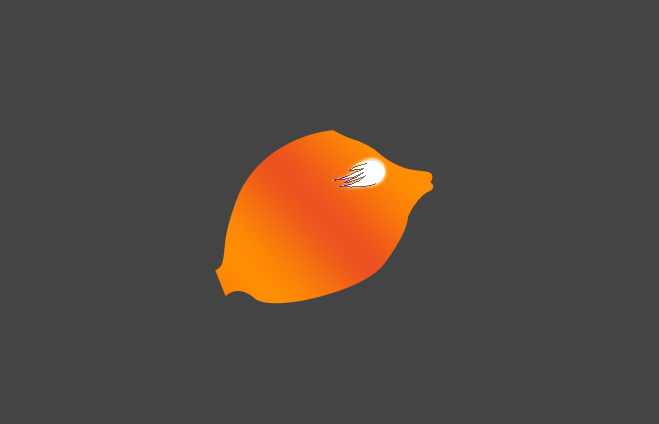
Now we are going to make the eye of the fish.
Select the ellipse tool and draw a fully round circle. Hold down shift when applying the circle to make it perfectly round.
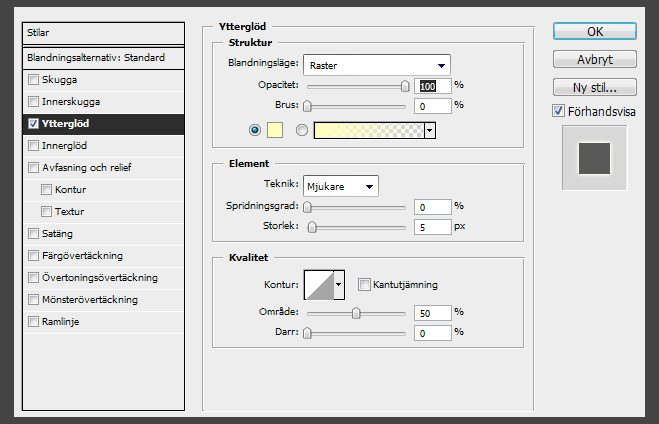
Open the layer styles and apply this styles
Step 6
Make another shape above our round circle and add some outerglow.
Step 7
Make a firey shape. This will add a nice fire-effect to our eye. Open the layer styles and apply some outer glow.
Step 8
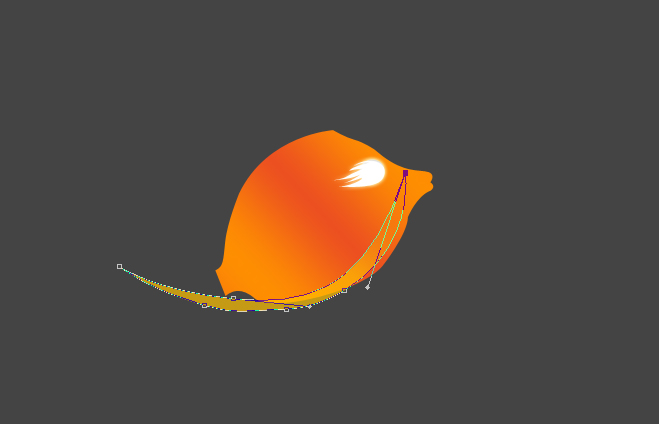
Now we are going to set our body on fire using pen tool (I know, funny choice of words).
Make a long pointed shape. Apply a layer mask (

) and use the gradient-tool(

) to fade it out.
Step 9
Repeat step 8 about 18 times using different shapes and colors.
Step 10
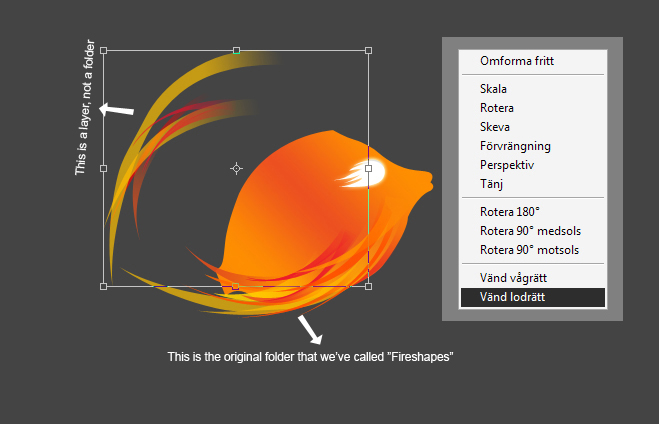
Now, put every shape that you just did in a folder, and rename it to “Fireshapes”. Now duplicate the whole folder and press CTRL/CMD + E and the folder will become a layer. Rename the layer to “Fireshapes2″ Then press CTRL/CMD + T and pick the option on the very bottom
Now put it above the fish
Step 11
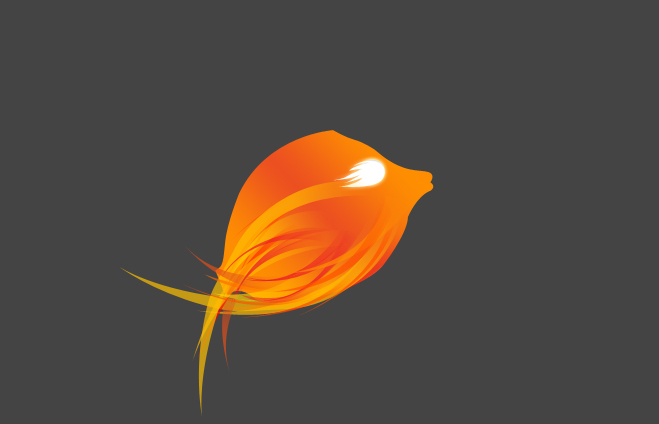
Now repeat step 10, rename this layer to “Fireshapes3″ and put it above “Fireshapes2″. Now lets add a yellow shape on the bottom using pentool to make this fish look a little bit more like a fish.
Step 12
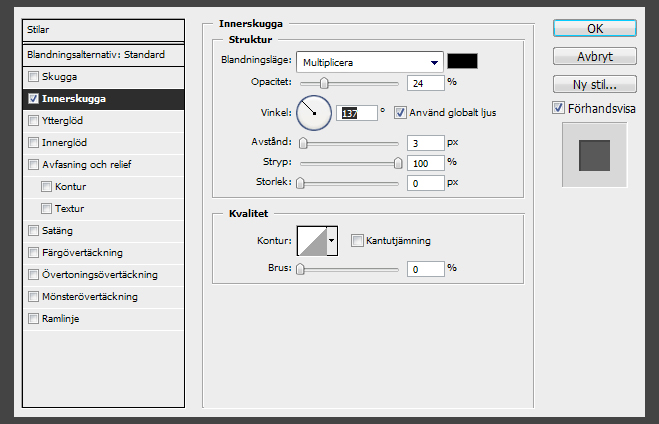
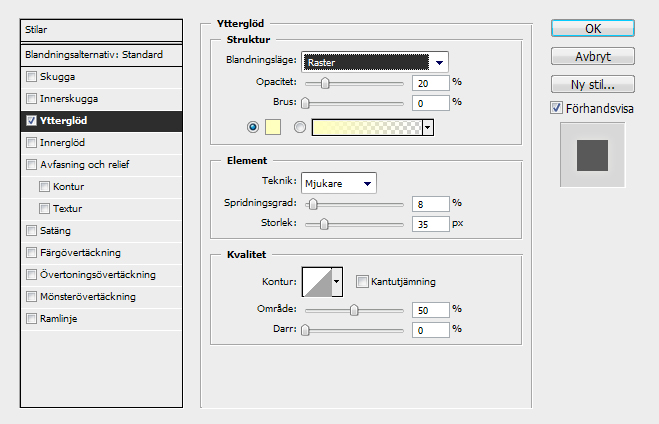
Now we will use this layer style options to complete the next step.
Step 13
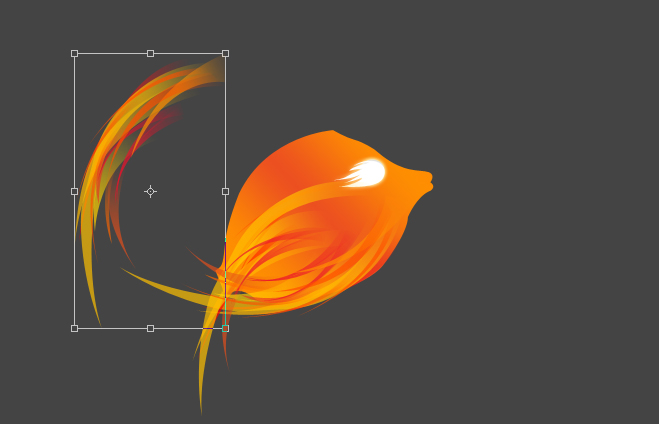
Now you know the technique of making fire-shapes using pen tool. I’ll be adding some shapes with gradients(step 12 for gradient settings) on the tail that I’ll put in a folder and rename it to “Tail”.
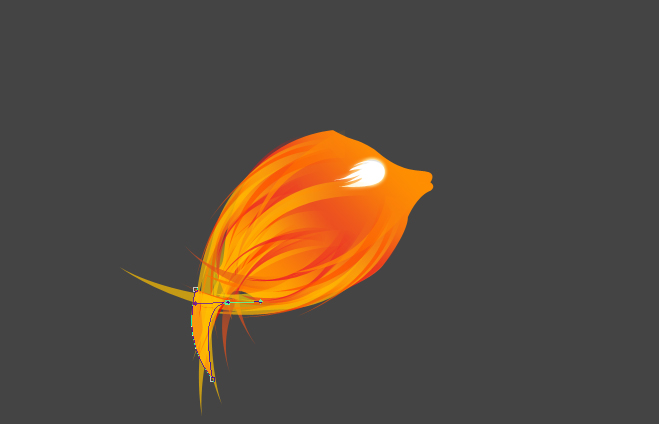
The tail is the area inside of the blue path.
Step 14
Now lets add a layer mask (

) to our tail folder and apply a gradient(

) to make it fade(

). This has an effect inside of the blue path.
Step 15
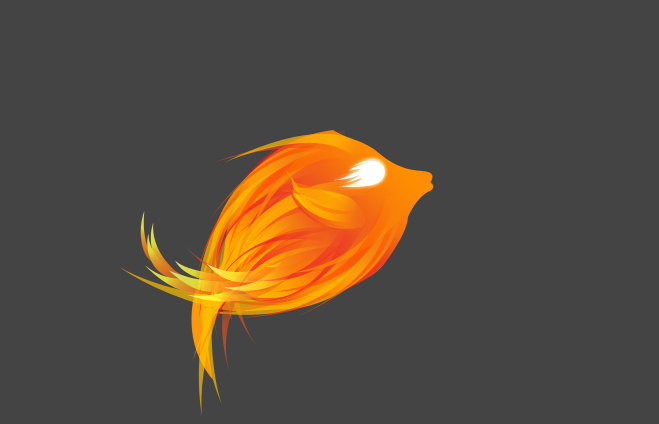
This is how your outcome should be looking like so far.
Step 16
Now we are going to make the fin of the fish. It cant swim without a fin right?

Make a shape like on the image above(I’m using #fcb100), fade it out using a layer mask (

) and the gradient tool(

).
Step 17
Now lets add some shapes above the fin to make it more “firey” using the same technique as in step 16.
Step 18
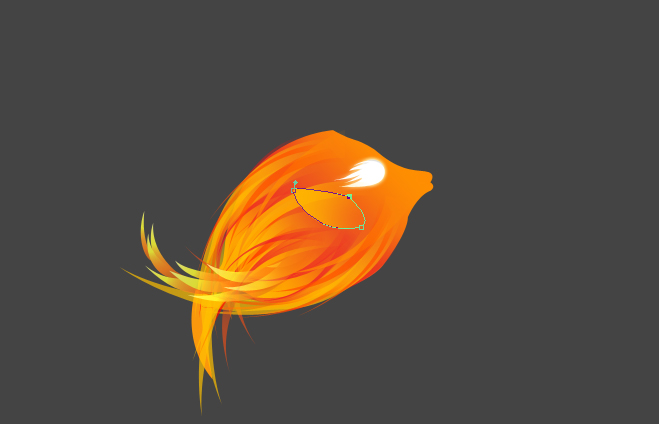
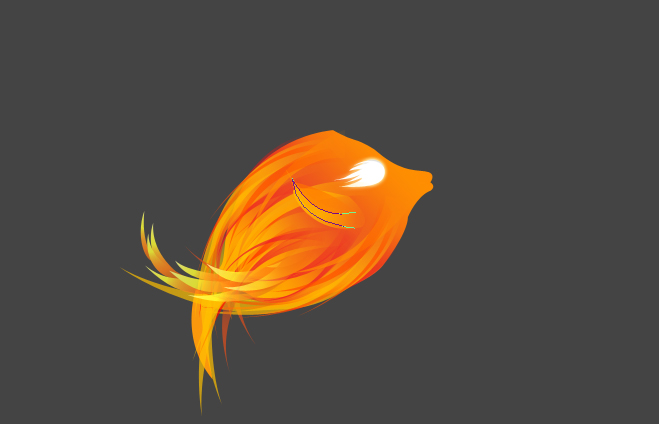
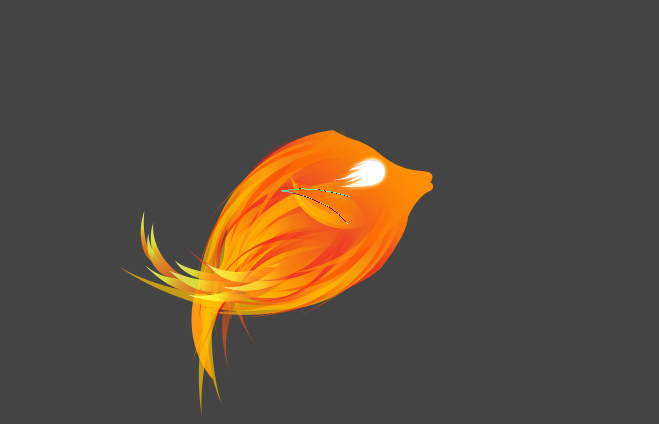
Make a shape on the fishes head, this will add a nice fire-feeling-effect.
Step 19
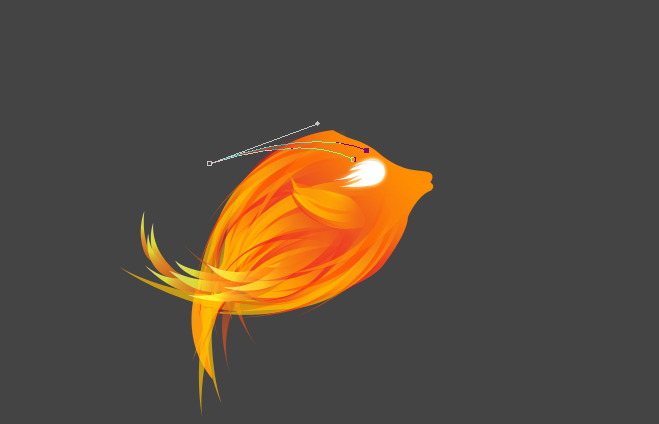
Repeat step 18 and fade it out using a layer mask(

) and the gradient tool(

).
Step 20
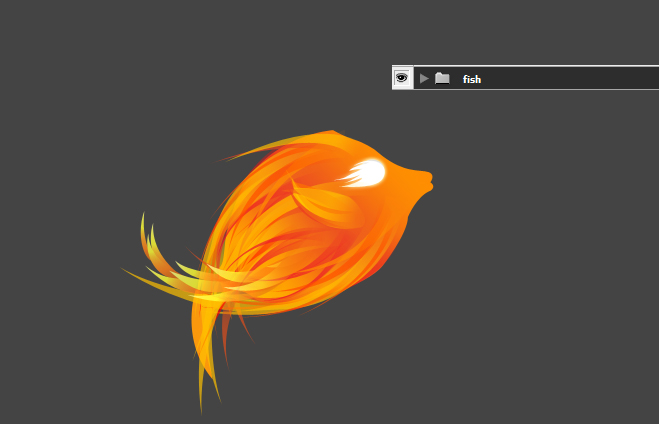
Now put everything we’ve done in a folder and call it “Fish”.
Step 21
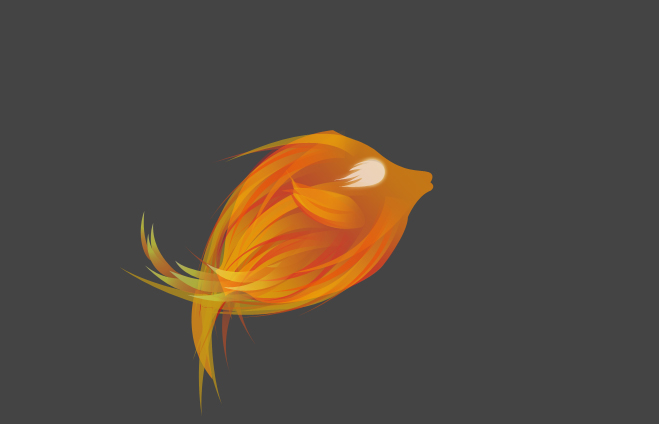
Set the opacity of the fish folder to 69%.
Step 22
Duplicate the fish folder and press CTRL/CMD + E. This will make a copied layer above our fish folder. Add the styles above.
Step 23
This should be your outcome so far.
Step 25
Now we are going to apply out smoke and some of our star brushes. Copy and paste the smoke above the fish and draw some stars in the same layer, set the opacity of the layer to 69%(

and add this layerstyle:
Step 26
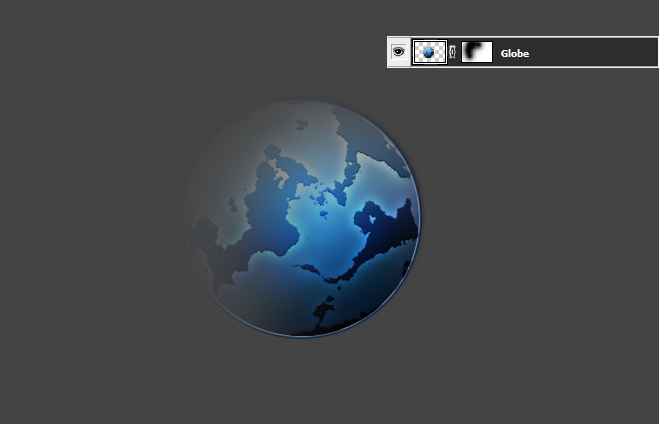
Now paste in our globe icon and add a laye rmask(

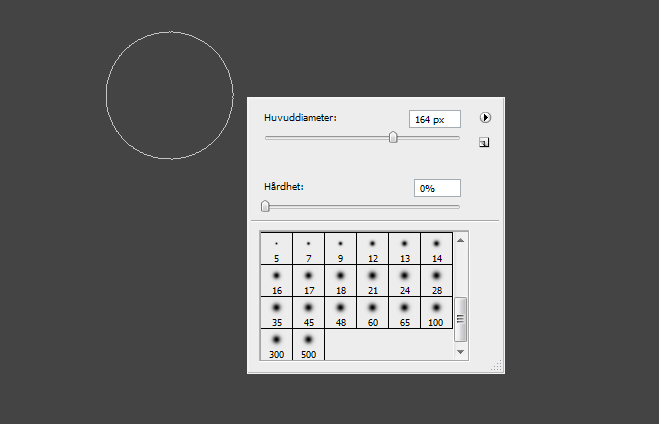
). Select a brush with a fair large size and set the hardness to 0 and fade out our globe using our large-size-brush, drawing on our layer mask with color #000000:
Step 27
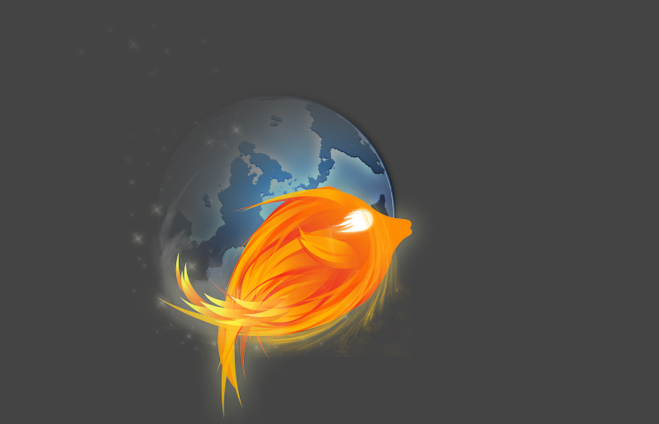
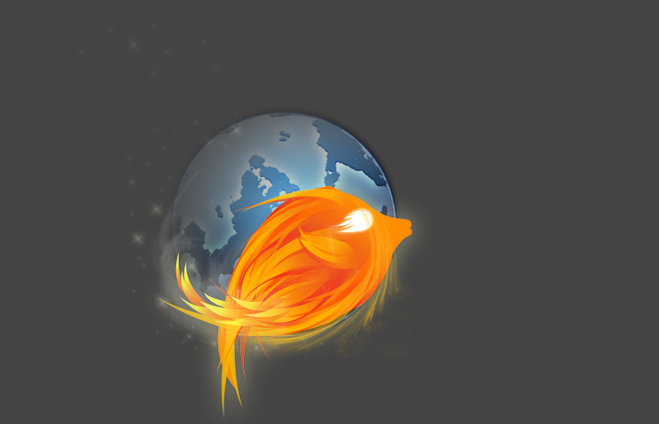
Now place the globe icon behind the firefish.
Step 28
Press CTRL/CMD + T and hold down shift and resize the globe until it fits behind the firefish.
Step 29
No we are up to make the background.
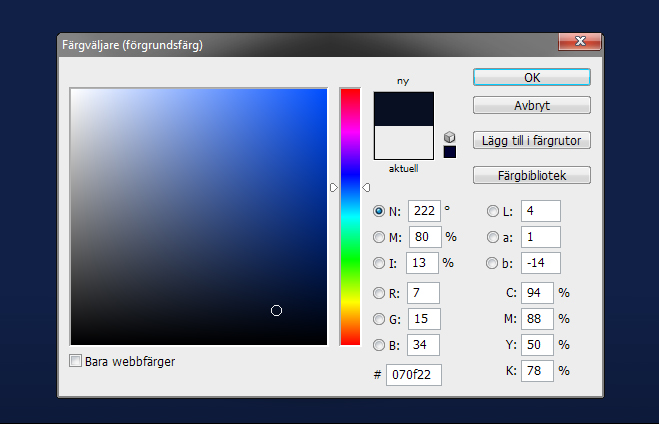
Lets choose a background color. I’m going with #112047.
Step 30
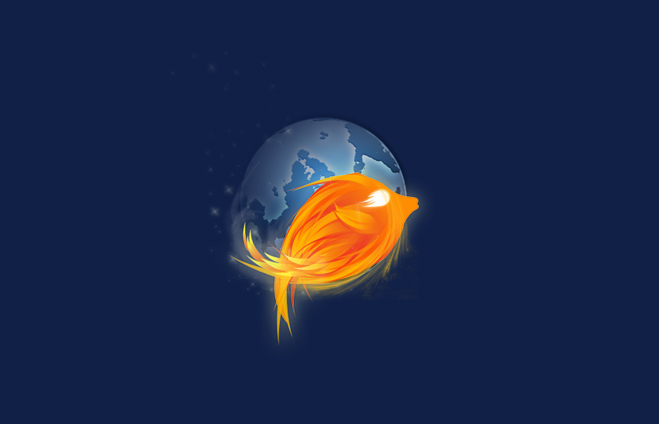
Outcome with background color.
Step 31
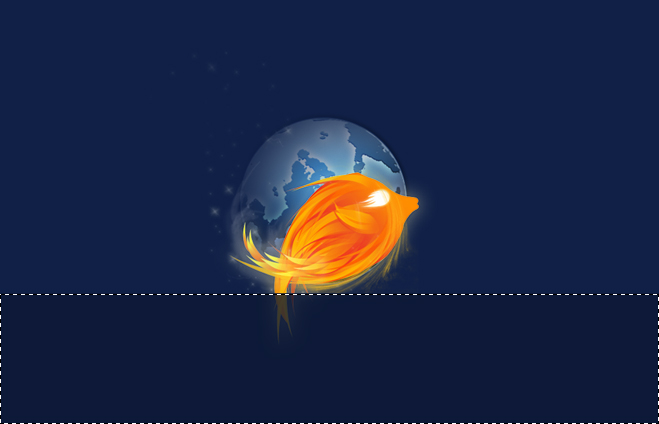
Make a new layer on top of the background but behind the globe and firefish. Mark a third of your document using the selection tool. Fill it with darker color(#0e1939).
Step 32
Fade it out. Apply a layer mask, pick the gradient tool and fade it out upwards.
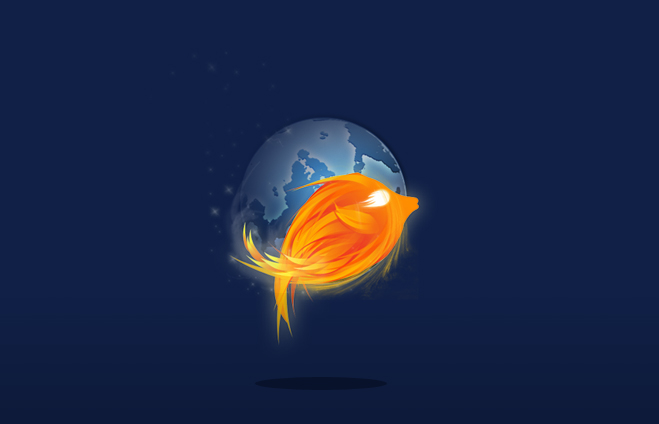
Step 33
Make an oval using the ellipse tool. Place it under the firefish. This is going to be our shadow.
Step 34
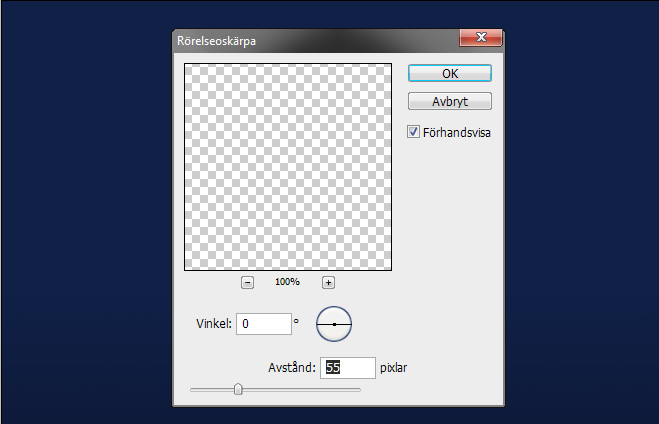
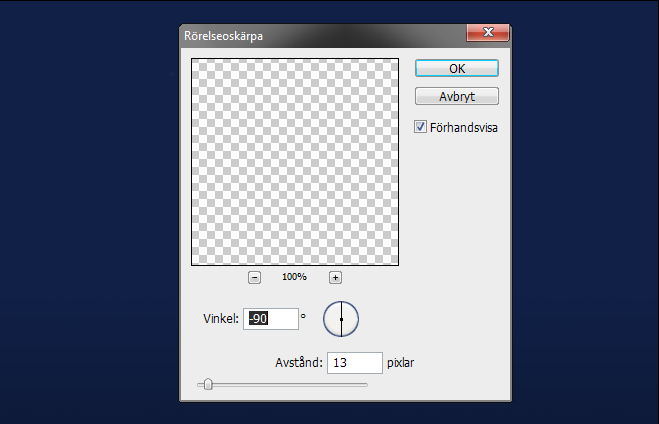
Now go to Filter > Blur > Motion blur and apply these settings(you need to do it twice, once for the x-axis and once for the y-axis):
Step 35
Now make a straight line over the globe using the line tool, open layer styles and apply some bevel and emboss(this time I’ll let you pick your own settings).
Step 36
Repeat step 35, but this time do it over the firefish.
Step 37
To finish it up, make a new layer and use the star brushes to draw some stars, this will make our “sky” more realistic.
Conclusion
So there you have it. We are now finished with our firefish, I hope this was to some help and you all learned some new Photoshop techniques and tricks. Don’t forget to leave a reply and let me know what you think!


















 Previous Article
